Install CAT CLI
OK, CAT seems cool. What do I do to start using it?
First - what do I get if I follow this?
You can very easily install CAT CLI using WinGet. In this tutorial, you’ll learn how to install it and create a fully working project with a few sample tests on dummy CSV data:
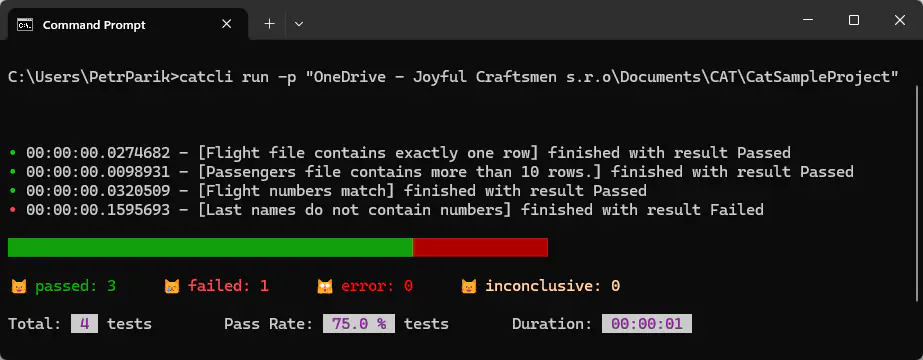 CAT CLI with results of tests in a provided sample project.
You will be able to explore the sample tests and run them. It will give you a rough idea what CAT can check for you on your real data. (The sample project works with CSV files, but CAT supports many providers).
What do I need to follow?
You need only Microsoft Windows 10 or 11. And 10 or 11 minutes of your time. And ~ 40 MB space on your disk.
On the other hand - what do you not need?
- You do NOT need admin permissions
- You do NOT need any license - CAT is for free when used in an interactive way (it means not for scheduled processes, CI/CD etc.), even for corporates, even for production data
- You do NOT need to connect to your data (sample data is provided)
Prerequisites
Install Microsoft Visual C++ Redistributable
Go to this Microsoft webpage: Latest Microsoft Visual C++ Redistributable Version
Download and install “X64” version:
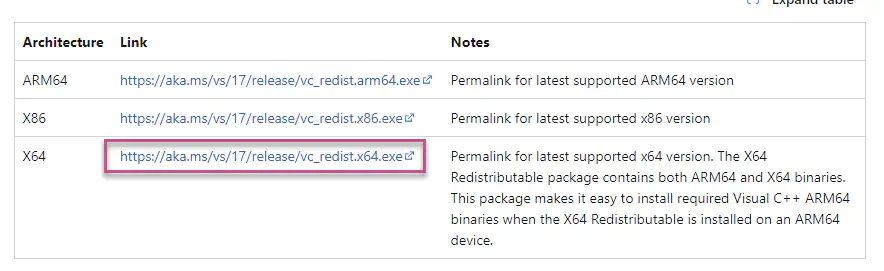
If you get a dialog with “Repair”, “Uninstall” and “Close” buttons, just close it - you already have this prerequisite. Otherwise install it (next, next, next…).
Install CAT CLI
Using WinGet
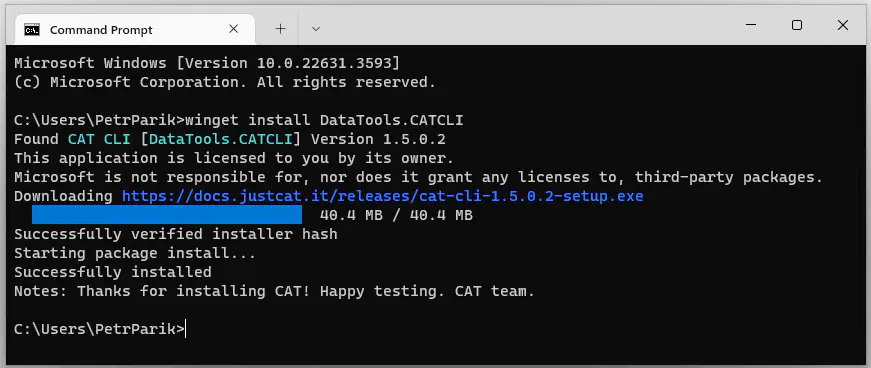
The installation is easiest from WinGet:
winget install DataTools.CATCLI
Download Installer
If you cannot use WinGet, download CAT CLI directly from this site: CAT CLI download page. Grab the version marked as “latest” and install it - it is simple “next, next next”.
Run CAT CLI
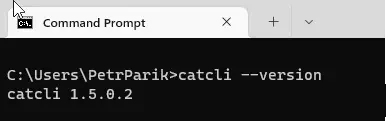
Run catcli --version or catcli -v:
What Next?
OK, you have CAT CLI. In the next step, create a sample project and explore it.