Azure DevOps
How to integrate CAT into Azure DevOps pipelines
Prerequisites
- A project in Azure Devops
- A repository containing your CAT project along with test definitions
- A basic understanding of CAT
Secrets
%TESTING_PASSWORD%, with corresponding environment variable values (see details).
You can therefore use your project file in pipelines without any additional changes or preprocessing steps, if you define the variable on your machine.To set up a variable and then set it as secret, navigate to this page:
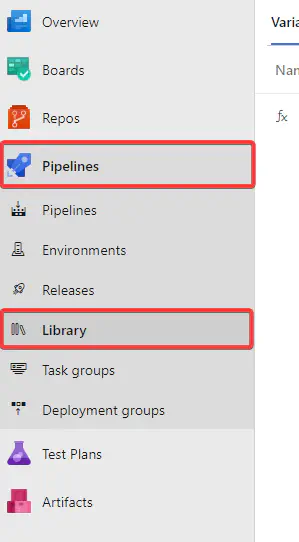
and click here:
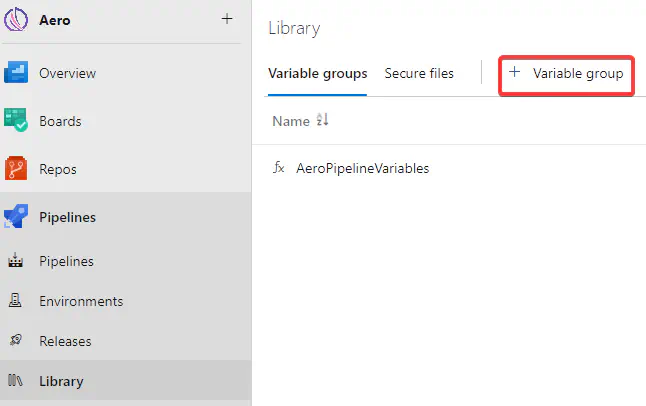
Once you add a new variable group, you can start creating variables. You can make these variables known or you can hide them as shown in the picture below:
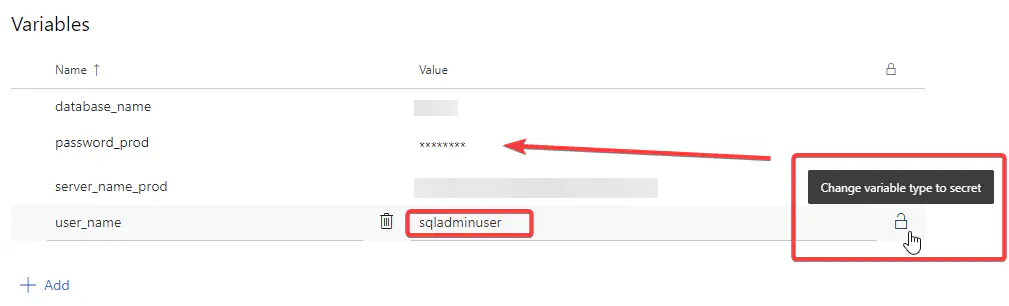
There are also other ways how to define variables, feel free to do it your way. The script provided in the next section demonstrates how these variable groups can be referenced in code.
Pipeline Code
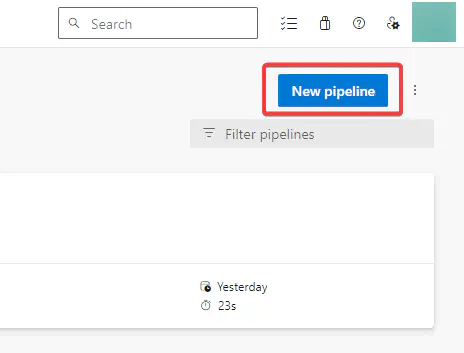
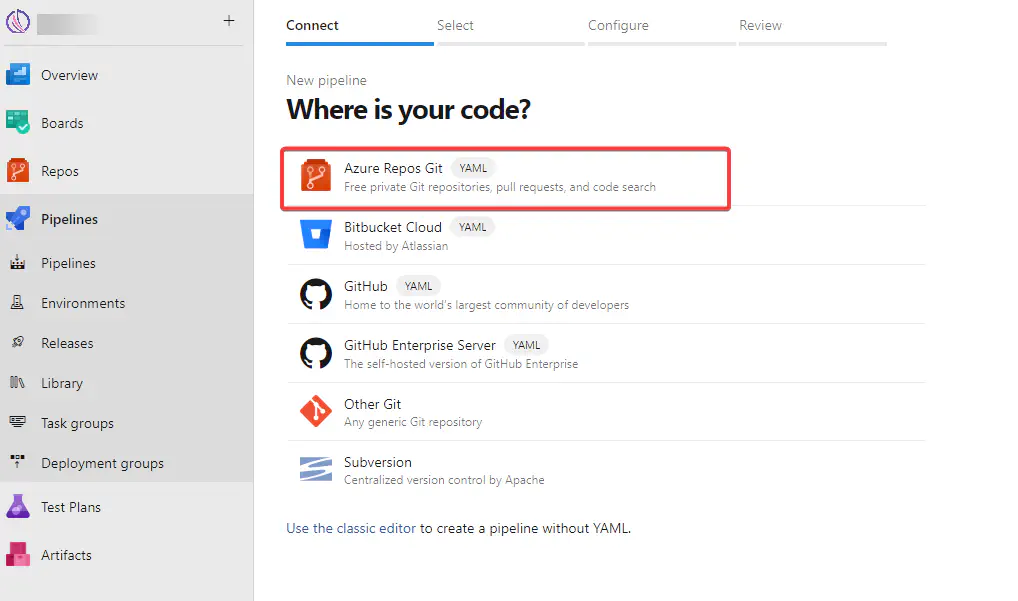
Once you are all set up and have a variable group with the appropriate values, navigate to the pane on the left and click on Pipelines, then New pipeline:
Next, choose the location of your code. In this tutorial, we will be using an Azure Repos Git.
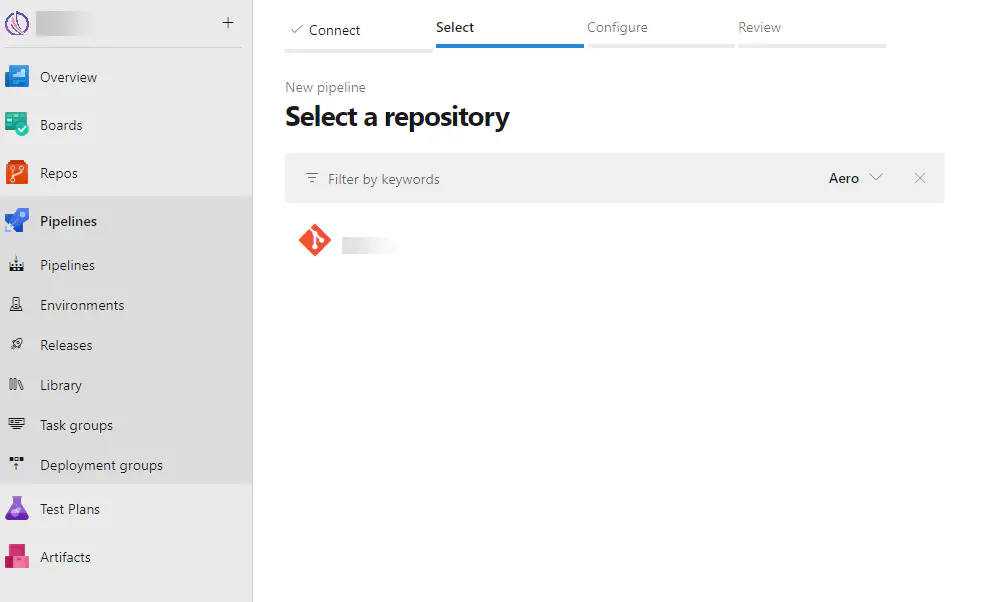
The next screen will ask you to choose the location of your repository:
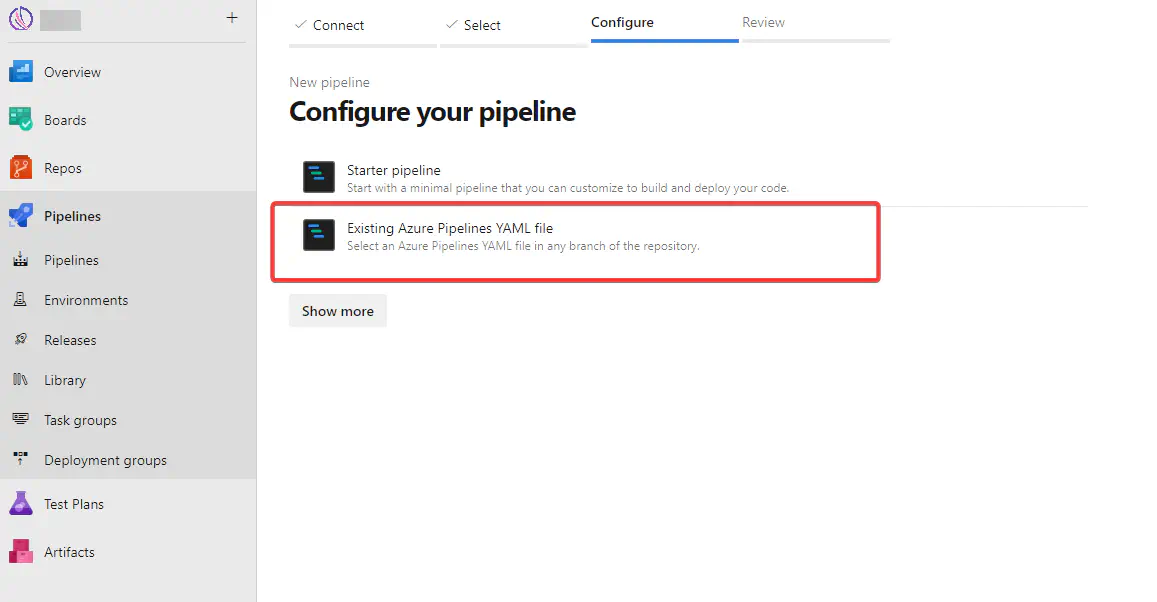
If you have an existing YAML file you would like to use, select Existing Azure Pipelines YAML file; if you would like to use example code, select Starter pipeline.
For the purposes of this tutorial, we will presume you have already created a repo and that repo contains YAML code for our pipeline (an example code is shown below). The example also expects you have your .cat.yaml project file located in a directory named tests in the root of your Git repository.
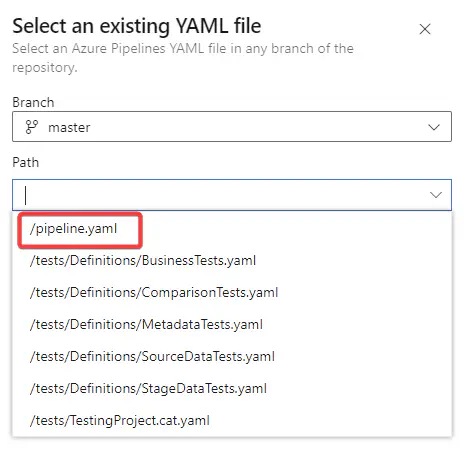
If you have an existing YAML file you would like to use, select Existing Azure Pipelines YAML file; if you would like to use our example code, select Starter pipeline.
Example code:
variables:
- group: AeroPipelineVariables

trigger: none

stages:
- stage: execute_testing_pipeline
  displayName: Execute CAT tests
  jobs:
  - job: execute_testing_pipeline
    pool:
      name: AeroPool

    steps:
      - checkout: git://Aero/_git/aero

      - task: PowerShell@2
        displayName: 'Install CAT'
        inputs:
          targetType: 'inline'
          workingDirectory: $(System.DefaultWorkingDirectory)
          pwsh: true # important! this tells the agent to use PowerShell 7
          script: |
              Install-Module CAT -AcceptLicense -Force -AllowClobber -Scope CurrentUser
              # can be skipped if you use self-hosted agent and the module is already installed

      - task: PowerShell@2
        displayName: 'Execute tests'
        inputs:
          targetType: 'inline'
          workingDirectory: $(System.DefaultWorkingDirectory)/tests
          pwsh: true # important! this tells the agent to use PowerShell 7
          script: |
              # Specify the file path
              $file = "$(System.DefaultWorkingDirectory)\tests\TestingProject.cat.yaml"

              #Import CAT module to session
              Import-Module CAT

              # Run CAT project
              Invoke-CatProject -Path $file
        env:
          # if you have secret variable TESTING_PASSWORD, it can be used in your project file and CAT will understand that
          TESTING_PASSWORD: $(TESTING_PASSWORD)
          # https://learn.microsoft.com/en-us/azure/devops/pipelines/process/variables?view=azure-devops&tabs=yaml%2Cbatch#secret-variables
          # no additional preprocessing or replacement steps are needed

      - task: PublishTestResults@2
        displayName: 'Publish test results'
        inputs:
          testResultsFormat: VSTest
          searchFolder: $(System.DefaultWorkingDirectory)\tests
          testResultsFiles: '**\*.trx' # Don't forget Output: trx in your project file
          mergeTestResults: true
          failTaskOnFailedTests: true
        continueOnError: true
This script checks out the repo, installs CAT, invokes CAT, runs the tests, and then publishes the results of the tests to the pipeline in .TRX format.
Note:
-
Don’t forget to change the path to your project, name of the agent pool you use, change / add other secrets and environment variables etc.
-
The example uses TRX format for publishing the test results, but JUnit is also supported in both CAT and Azure DevOps.
Results
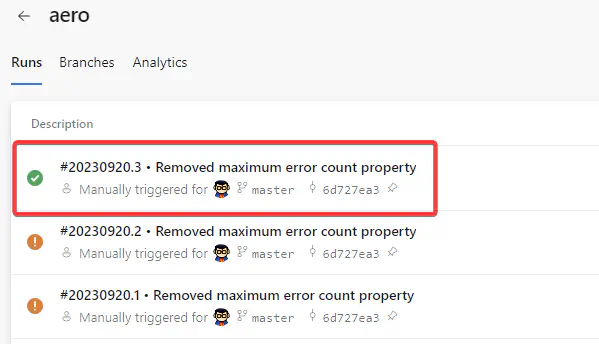
To find the test results, navigate to the Pipelines tab, click the pipeline you want to see the results for, and choose one of the runs:
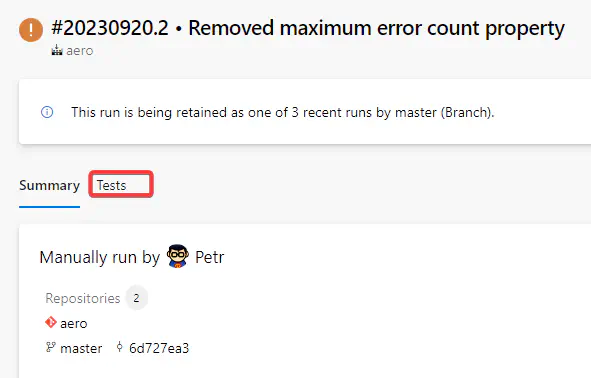
Then click Tests:
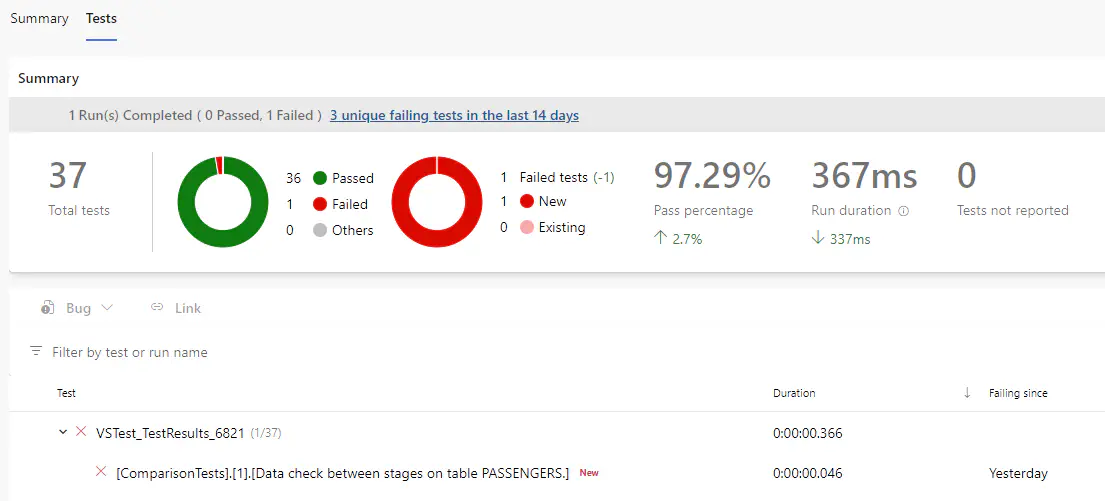
The results should look something like this:
Classic Releases
If you use classic releases, the integration of CAT is a bit different - actually, everything is a bit different, even the process of pipeline creation (it is not YAML code, you define them in Azure DevOps GUI). Follow our tutorial if you use classic releases.
Classic Releases documentation: https://learn.microsoft.com/en-us/azure/devops/pipelines/release/?view=azure-devops